Recycled Halloween Candy Pail
http://dollarstorecrafts.com/2018/09/recycled-halloween-candy-pail/
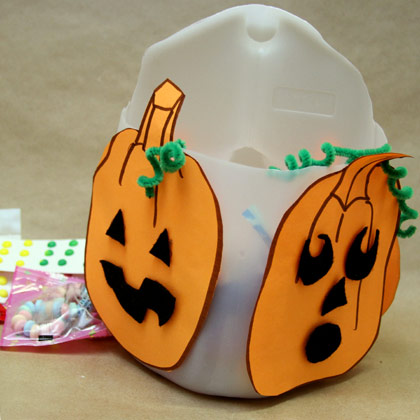
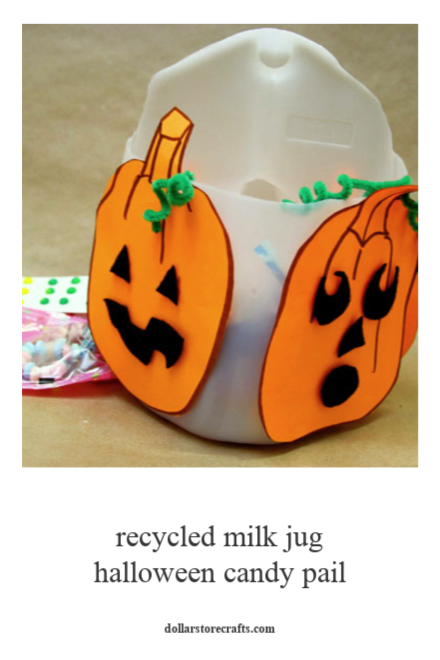
Don’t throw that milk container away! Recycle it into a Halloween Treat Bucket, perfect to take along with you when you go trick-or-treating. Kids will have fun making this recycled Halloween container, and taking it along on night to collect their candy haul.
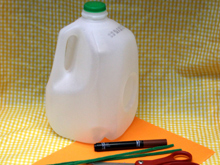
Recycled Halloween Treat Bucket Materials:
- 1 recycled milk container, washed well
- 2 sheets of orange paper (construction, card stock, or scrapbooking)
- 1 sheet of black felt or craft foam
- 2 green chenille stems (pipe cleaners)
- markers
- glue dots
- scissors
- hole-punch
- pencil
Instructions:
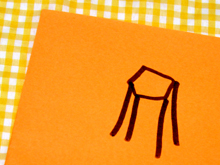
1. Fold a piece of paper in half and draw pumpkin stem in the top area of the paper. To draw it, make a round or oval shape, then draw a few lines going down from the side edges and the middle.
2. Draw the round part of the pumpkin around the stem, and add a few wrinkle lines coming down from the stem. Draw 3 more pumpkins the same way on your remaining orange paper. Note: make two of the pumpkins shorter, to better fit on the handle sides of the jug.
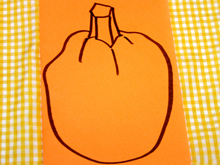
3. Cut out each pumpkin around the outline.
4. With a washable marker, draw a line around the lid area of the milk jug, and down around the front of the jug. Cut around this line with a pair of sharp-pointed scissors, leaving the handle intact. (See photo.)
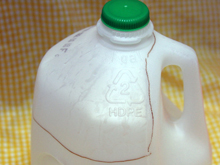
5. Attach the four pumpkins to the sides of the milk container with glue dots.
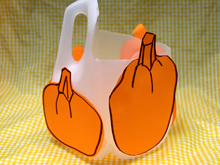
6. Make a hole in one of the front pumpkins with the hole-punch.
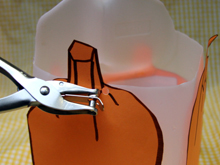
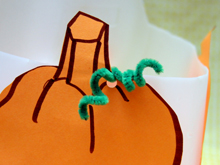
7. Thread a chenille stem through the hole. Twist the stem to secure it to the pumpkin, and then twist it around the pencil to make the curly pumpkin vine tendrils.
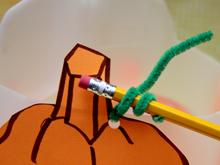
8. Do the same with the other front pumpkin so it also has a chenille vine.
9. With felt or craft foam, cut pumpkin eyes, noses, and mouths to decorate your pumpkins as jack-o’-lanterns. Attach the facial features with glue dots. Alternately, draw faces on the pumpkins before you attach them to the container.
Additional Recycled Halloween Bucket Tips:
Different Decorations: Instead of jack-o’-lanterns, cut out different shapes to adorn your treat bucket. How about black cats or ghostly shapes?
For Younger Tots: Give your toddler or pre-schooler a half sheet of paper and let them draw or color. Cut scribbles into a pumpkin shape.
Personalize: Use foam letter stickers to put your child’s name on the container and keep everyone’s treat bucket straight!
The post Recycled Halloween Candy Pail appeared first on Dollar Store Crafts.
