No-Sew Princess Costume Tutorial
http://dollarstorecrafts.com/2018/09/no-sew-princess-costume-tutorial/
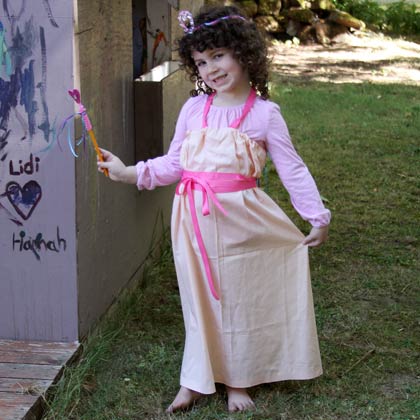
The Princess Costume is a classic for a reason! Who doesn’t want to dress like a princess? It’s simple to create your own no-sew princess costume for use as a Halloween costume, or just for everyday pretend play.
Even if you don’t sew, this princess costume idea is perfectly simple to construct. You can make this princess dress in under an hour using a few no-sew tricks. The main requirements for a great-looking princess dress are proper length and the right color, so let your child help you pick out the perfect color of fabric and ribbon for a dress she’ll just love.
Don’t let these instructions stress you out! You’re basically making a tube of fabric with elastic. You can do it!
Disclosure: This post contains affiliate links, which may provide a small percentage of any purchase you make when clicking on the links, at no additional cost to you.
DIY Princess Costume Materials:
- 1 yard of fabric (color of your—or your child’s—choice)
- 1 spool of coordinating ribbon
- fusible fabric webbing tape (I used Stitch Witchery)
- ¼-inch wide elastic (length depends on your child’s measurements)
- safety pin
- hot glue gun
- hot glue sticks
- scissors
- iron
- measuring tape
- ribbon (at least 36-inches long)
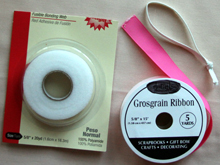
Princess Costume Instructions:
Adjusting the Size: This dress fits a 5T nicely, but if you want to make a different size, measure from your princess’s armpits down to the tops of her feet and get your fabric cut to that length. Once you add the casing and the bottom hem, the dress should be about 3-inches above her feet, to keep her from tripping.
1. Iron the fabric to remove excess wrinkles and creases. Open up the fabric and lay with right side down. You should have a rectangular piece of fabric with two raw edges and two finished edges. Fold over one raw edge about 1-inch and iron to crease. After fabric is creased, iron a piece of fusible fabric webbing tape under the crease and fuse fabric according to package instructions. This is the hem of the dress.
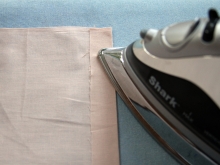
2. With fabric still right side down, fold the other raw edge over about 2-inches and iron to crease (this will be the edge opposite the hem). Use your hot glue gun to glue just the very edge of the 2-inch fold, leaving a casing. You will run the elastic through this casing later, so be sure to leave an unglued area wide enough to eventually feed through a safety pin and the elastic.
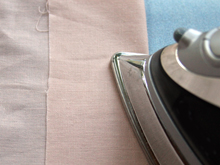
3. Lay fabric out flat with right side up. Fold in half so that the plain edges meet. Hot glue the two plain edges together to form the back seam. You should now have a tube of fabric with the hem at the bottom, the casing at the top, and a seam at the back. The dress will be inside-out.
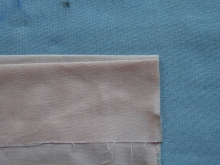
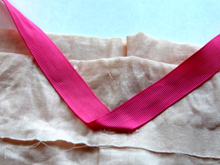
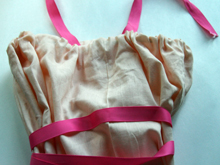
4. Leave dress inside out for now. Flatten the dress so the seam is in the middle back. Cut a 24-inch piece from your ribbon. Fold the ribbon in half to find the middle. Hot glue the very middle of the 24-inch piece of ribbon to the front-center of the dress (over the casing) so it forms a V. This will be a halter strap to keep the dress from falling down.
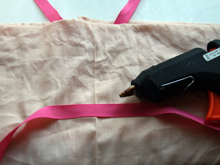
5. Turn dress right side-out. Flatten dress so seam is in the middle back. Take your remaining piece of ribbon (about 12-inches depending on your child’s size) and fold it in half to find the middle of the ribbon. About 6-inches down from the top of the dress, squirt a 4-inch line of hot glue horizontally on front of dress, and attach the center of the ribbon to the line of hot glue. This will fix the ribbon waist ties to the dress.
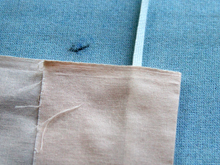
6. Use the measuring tape to measure around your child’s chest right at the armpits. Add 2-inches and cut a length of ¼-inch elastic using that measurement. Attach a safety pin to the end of the elastic, and thread through the casing at the top of the tube. When the elastic is threaded completely through the casing, tie ends of elastic together.
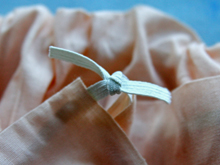
7. To wear the dress, the elasticized top will be pulled up to the armpits. Tie the neck ribbon around the back of the neck halter-style. Take the long waistband ribbons and criss-cross them around the body as many times as you can and tie at the back or the front.
No Sew Princess Costume Tips
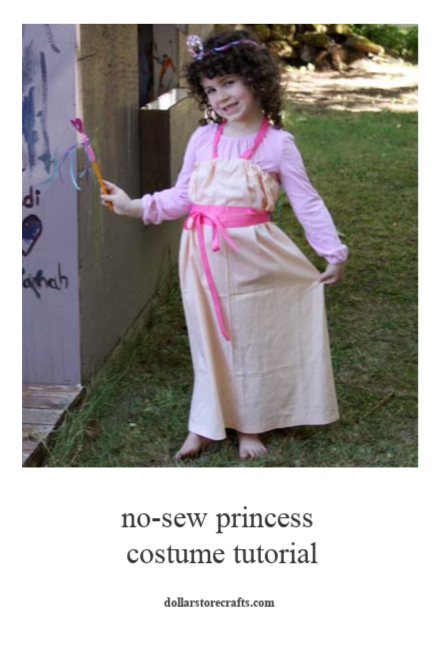
What to Wear With This Costume: Pair this dress with a long-sleeved top or t-shirt underneath, and add tights for warmth while trick-or-treating.
Accessorize: Be sure to glam this dress up with the right accessories. Every princess needs a crown, jewelry, a wrap or feather boa. You can find most of these things at the dollar store or your local department store, or craft them up yourself.
Fabric choices: Plain cotton is the cheapest option, and the easiest to work with in terms of ironing. Polyester can come in many different finishes, and can look very shiny and princess-y, and will have a good drape and fluidity. You can find inexpensive costume fabrics at your local fabric store that will work nicely. You can add additional ribbons and trim to fancy it up as much as you like.
Washability: You can actually wash this garment, even though it’s constructed with hot glue! Hang to dry.
The post No-Sew Princess Costume Tutorial appeared first on Dollar Store Crafts.
