Tutorial: Valentine’s Day Dollar Store Wreath
Tutorial: Valentine’s Day Dollar Store Wreath
http://dollarstorecrafts.com/2018/01/tutorial-valentines-day-dollar-store-wreath/
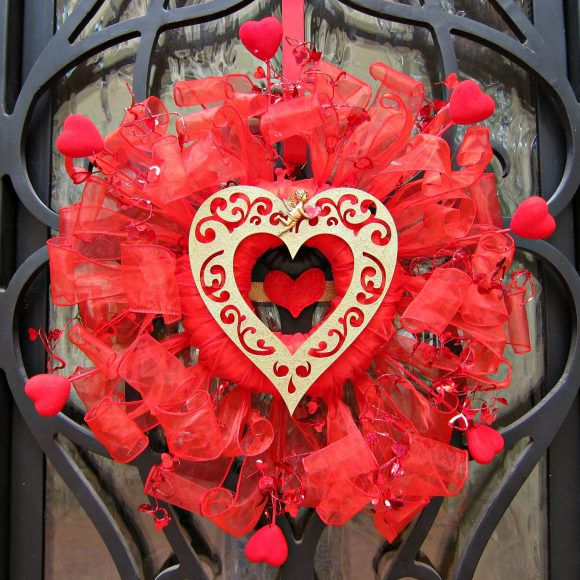
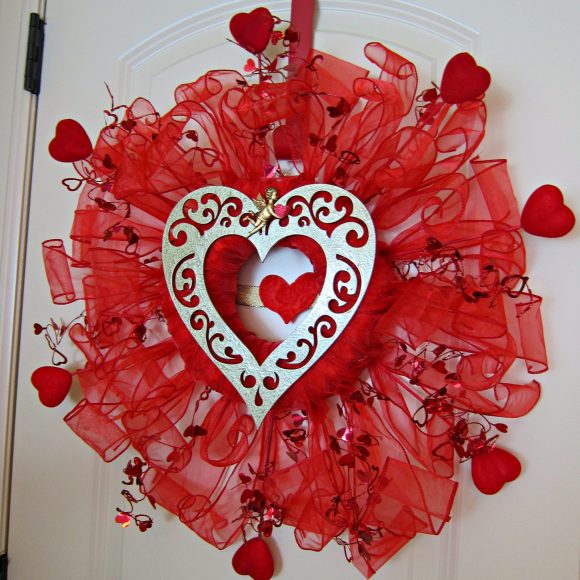
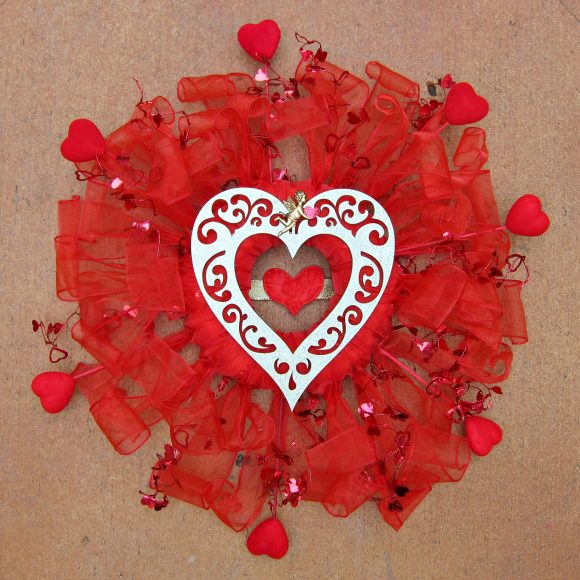
I decided I wanted a Valentine’s Day wreath this year. I’ve never been a big wreath person, but Pinterest can change a girl. I wasn’t sure exactly how my wreath would look, I just knew I wanted it to be big, bold, and red.
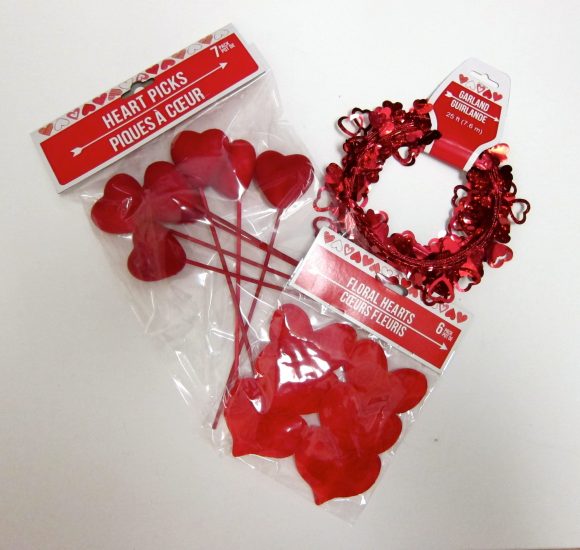
I headed to Dollar Tree and just started picking up red Valentine items that “spoke” to me. I liked the sparkly garland, and the heart picks were too cute to pass up. I had a ton of red ribbon left over from Christmas, and some wood heart frames I had purchased at Michael’s. I looked at my collection for several days, still not sure what to do with it. So I just started playing with my supplies, and I wound up with a wreath that I absolutely LOVE. Here’s how I ended up making it.
Project estimate:
- Wreath form, $1
- Wire edged ribbon, on hand or $1 and up
- Valentine garland, $1
- Heart Picks, $1
- Wood heart frame, $1
- Puffy hearts, $1 for 6
- Stickers, on hand
Total: $5 and up
Step one: Wrap the wreath form with ribbon (optional, but I can’t stand floral foam shedding!) Paint the heart shaped frame.

Step two: Cut the wire garland into 24 inch pieces. Wrap one end of wire around the wreath form, and coil the rest into a loose spiral. Repeat.
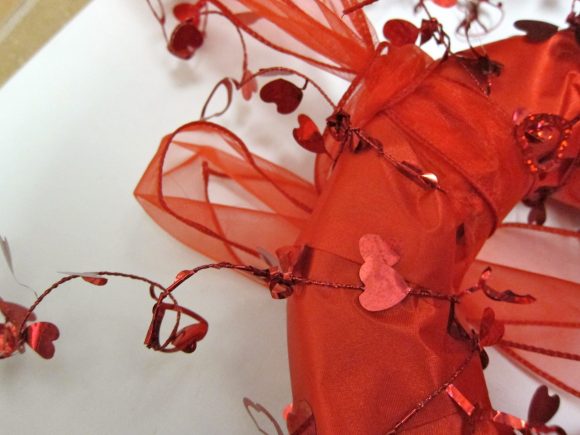
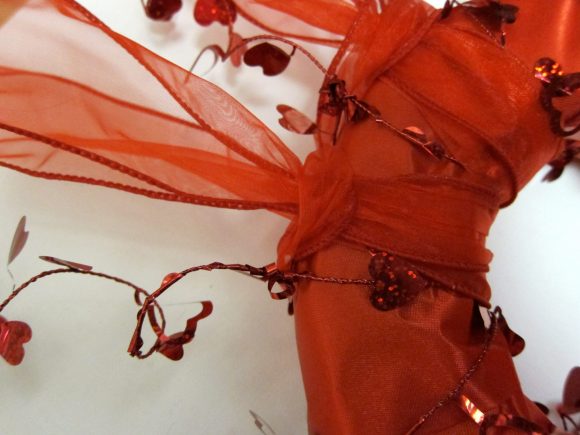
Step three: Cut the wire edged ribbon into 32 inch strips. Attach it to the wreath form by doubling the ribbon, and pulling the ribbon ends through the loop. Repeat.
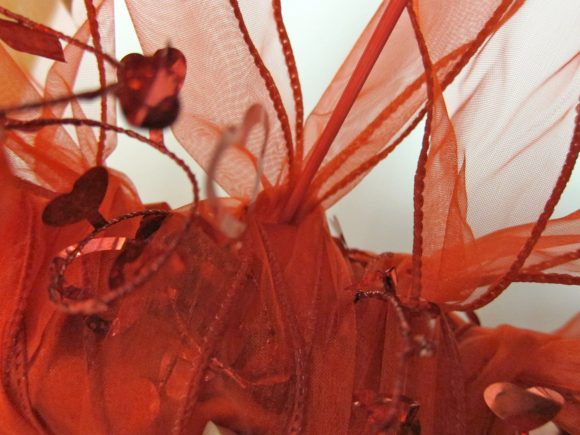
Step four: Slide the ends of the heart picks into the base of the ribbon loops.
Step five: Glue the wood heart to the front, and attach the puffy heart with a ribbon. Add a cupid sticker (optional).
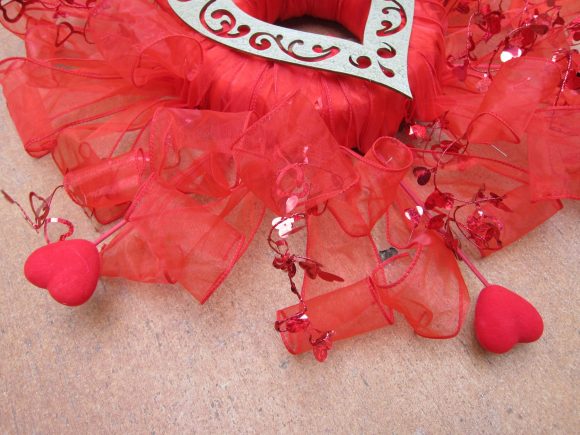
Step six: Curl the ends of the wired ribbon in different directions.
Isn’t this a fun wreath? If you don’t care for my red/gold combo, you could easily make it white/pink or any other colors that say “Valentine’s Day” to you. Have fun crafting and creating!
The post Tutorial: Valentine’s Day Dollar Store Wreath appeared first on Dollar Store Crafts.
