Mardi Gras Mermaid Wreath
Mardi Gras Mermaid Wreath
http://dollarstorecrafts.com/2017/01/mardi-gras-mermaid-wreath/
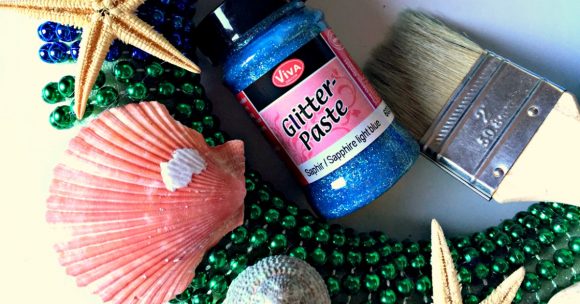
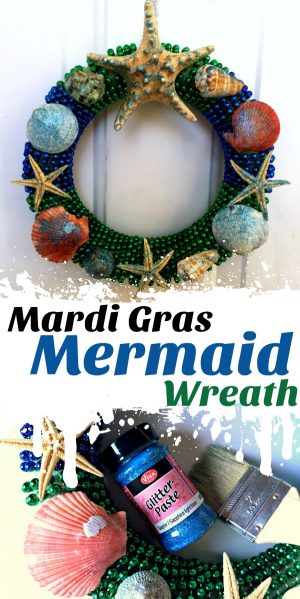
Today I’m excited to share my latest wreath, made with Mardi Gras beads, seashells, and a little mermaid glitter! Would you like to make a Mardi Gras Mermaid Wreath too? Read on for instructions.
This article contains affiliate links.
Wreath a Day #6: Mardi Gras Mermaid Wreath
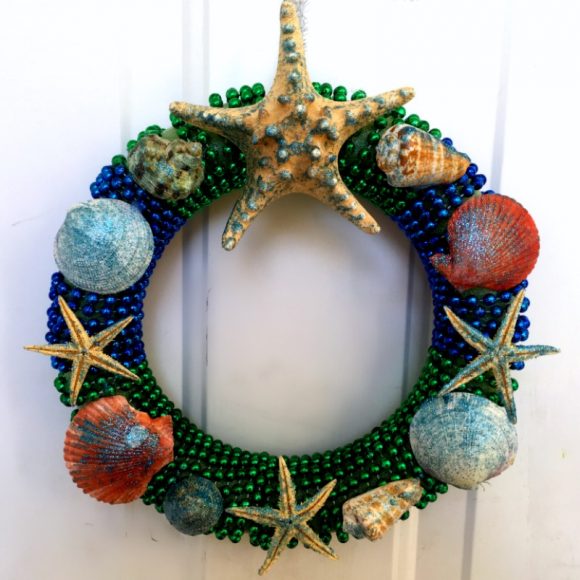
I have had these pretty seashells in my stash for a few months. I bought them because I thought it would be fun to make a dollar store mermaid crown, but I never made it. When I saw the shells in my Craft Hoarder’s Paradise™ (aka CHP, aka my garage), I thought “Hmm, maybe I’ll never make that mermaid crown. But you know what I need to make right now? A wreath! Maybe I should make a mermaid wreath!” And the idea was born.
I held onto the shells for a few days because I couldn’t settle on the right background on the wreath. I had neutral colored ribbon that would have made a perfectly serviceable beachy wreath, but what I really wanted was something mermaid-y. I wanted a sparkly blue or green background. When I was visiting the dollar store, I saw these Mardi Gras style beads, and I knew those were the final component in my mermaid wreath.
Supplies Needed:
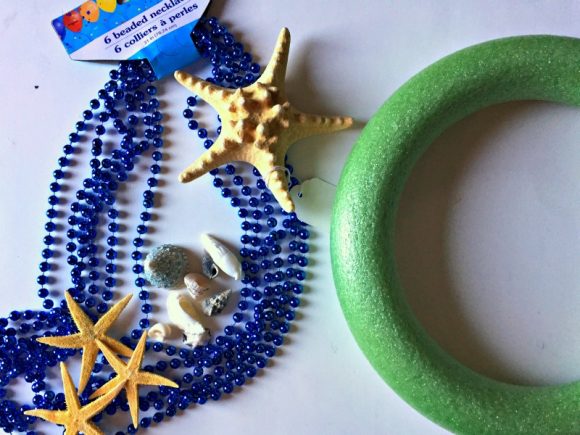
- Foam wreath form*
- 3 packages of Mardi Gras beaded necklace (approximately 18 necklaces)*
- Assorted seashells and starfish
- Blue glitter paste or glue* and blue glitter*
- Hot glue gun and glue sticks*
- Paint brush*
*Items with an asterisk can be purchased at the dollar store or DollarTree.com.
Step 1: Glue beads to wreath
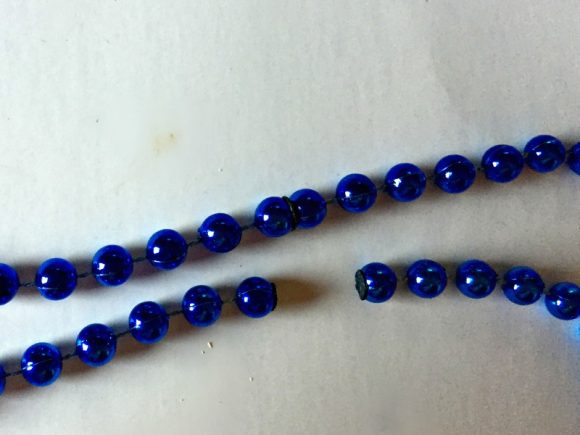
Before you glue the beads to the wreath, you need to break the beads on the spot where they are glued together. Find the two beads that are fused together and break them apart with your hands (or hold one side with pliers if you have trouble breaking them). Alternately, you can just snip the string between any two beads.
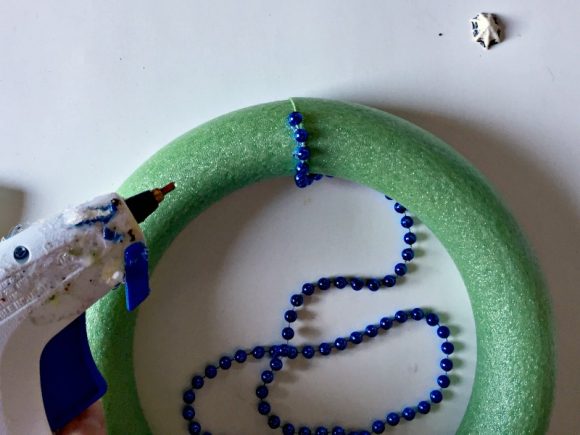
Put a line of hot glue on the wreath form and put the end of the beads on the glue. Hold the beads on the wreath form until the glue cools, then begin to wrap the beads around the wreath form.
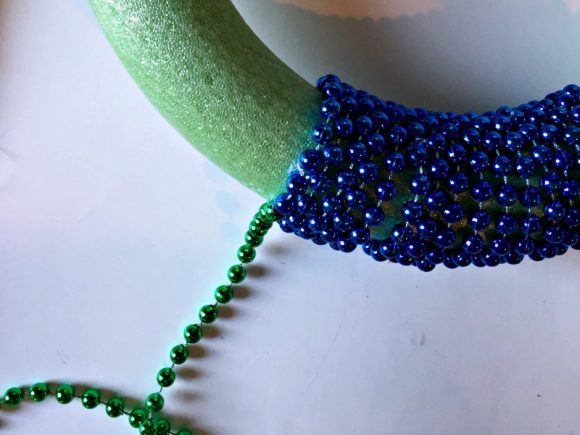
When you reach the end of one strand of beads, glue the next strand to the previous strand, and secure it onto the wreath with a dab of hot glue. Continue to wrap the wreath with beads until it is fully covered.
Production note: You might want to paint the wreath form before you begin, as the wreath form does show through the beads a little bit. If I made another wreath (or made one to sell), I would definitely cover up the wreath form before I glued the beads.
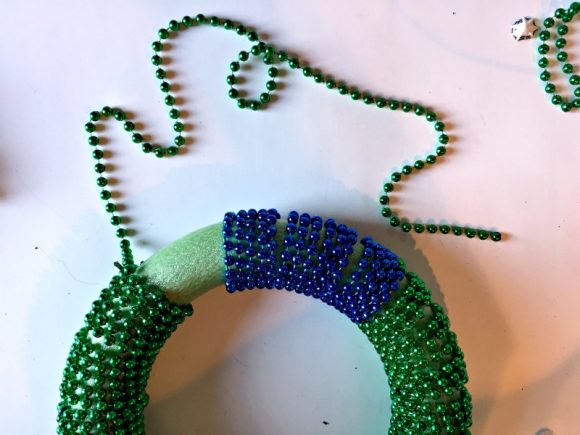
I didn’t have enough blue beads to cover the entire wreath (which would have looked amazing, I think), so I had to split the wreath coverage between blue and green beads.
Step 2: Glue the shells onto the wreath
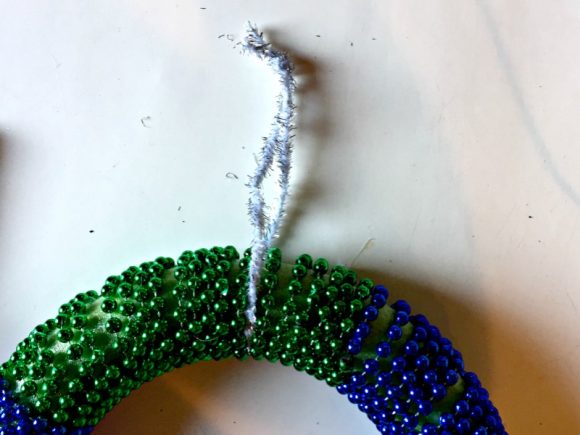
Before you add the beads, tie a piece of ribbon around the top of the wreath to provide a hanger.
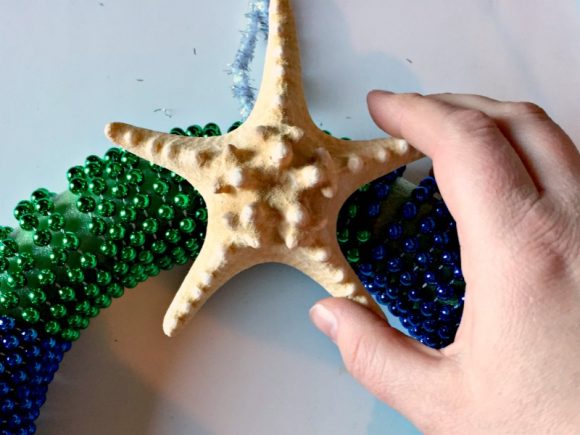
Hot glue the starfish and seashells in place on the wreath.
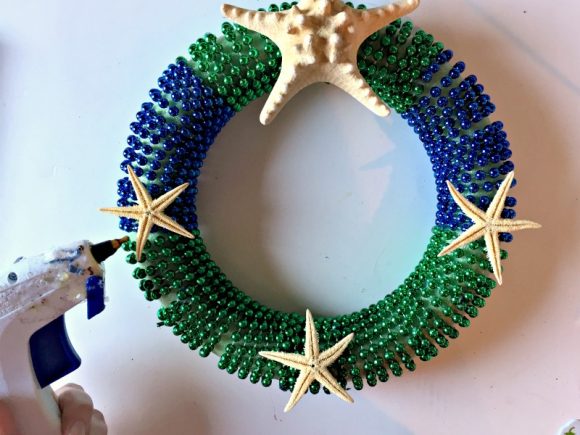
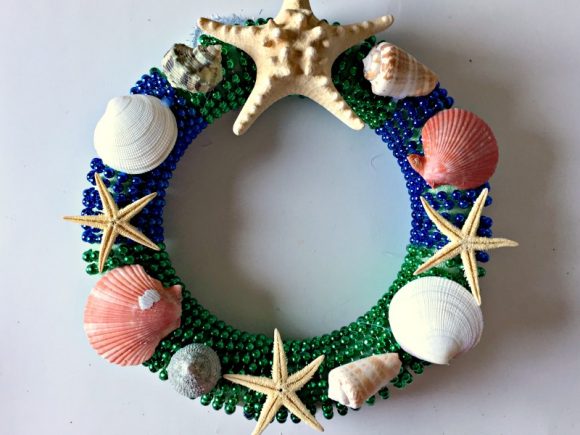
I arranged the starfish evenly around the wreath first, then arranged the seashells between them.
Step 3: Add glitter paste
When I got all the seashells glued in place, the wreath didn’t look finished, so I rummaged around in my CHP™ and found some sapphire blue glitter glue paste. You can buy the paste at your local art store, or online.
Or, you can just use liquid glue and blue glitter (both of which you probably have in your stash, or you can find at the dollar store).
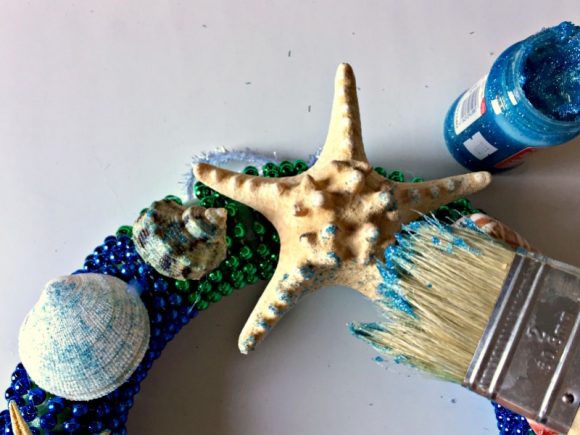
I brushed blue glitter paste on all the shells to add some shimmer, and also to tone down the brightness of some of the shells and help them blend into the beaded background a little better.

That’s better! I like how the glitter looks kind of like sea gunk, but glittery sea gunk. It also tied the disparate seashells together more and made them fit together as a unit of related items.
Overall, I like how it turned out! I think it would look neat if I spray painted the whole thing white and then added some glitter glue over that. I wouldn’t mind trying it.
I hope you are having as much fun watching me bust my stash as I am having making these crazy wreaths! To follow along with my project, check out my other Wreath a Day posts.
