Make a Recycled Gift Wrap Wreath
Make a Recycled Gift Wrap Wreath
http://dollarstorecrafts.com/2017/01/make-a-recycled-gift-wrap-wreath/
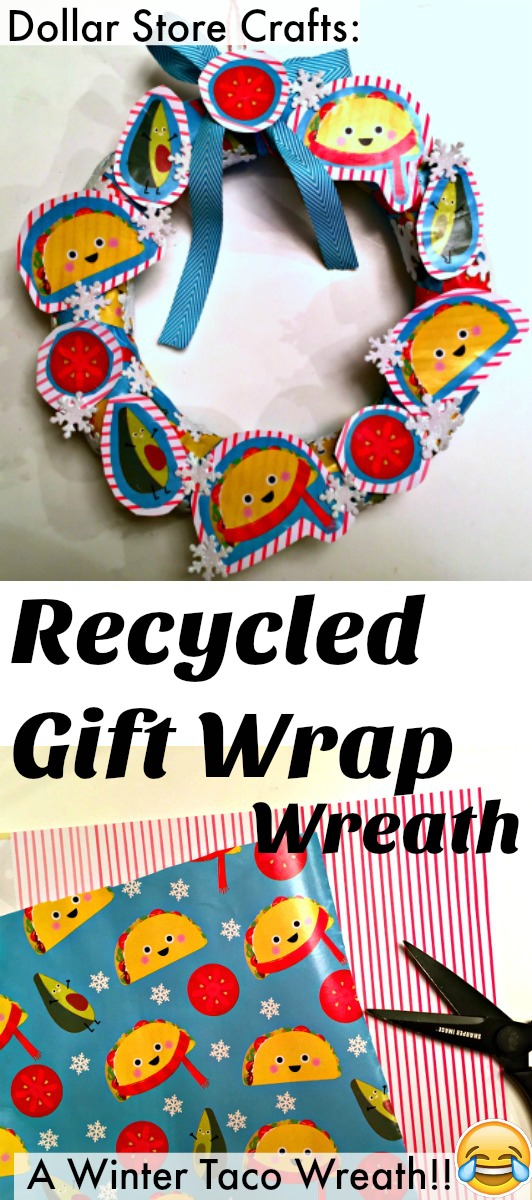
Today I would like to show you how I took my favorite gift wrap from the holiday season and re-purposed it into a new wreath! I used stuff I got at the dollar store, and things I already had in my craft stash to make a cute and funny wreath that I’m excited to hang up in my office. Do you have extra gift wrap with a cute design that would make a great wreath? Then read on for instructions on how to transform your gift wrap into a simple and fun wreath project.
Note: This post contains affiliate links to the products I used, in case you want to shop for them.
Wreath a Day: #1
I bought this winter taco gift wrap on the first day it was for sale (for $2 a roll) at Target. I had to have it — who doesn’t love tacos? And I get sick of the samey-samey holiday gift wrap. I instantly gravitated toward the cute tacos wearing scarves and their avocado compadres. (I admit, I am a bit of a gift warp hoarder… it’s hard for me to pass on cute gift wrap.)
My favorite gifts under the Christmas tree were definitely wrapped in this taco paper! So when I went looking for supplies in my craft hoarder’s paradise, ahem, I mean my garage, I was immediately drawn to this paper once again. I grabbed it, and some dollar store stickers (that I also found in my CHP — yeah, Craft Hoarder’s Paradise), and went to town.
How to Make a Recycled Gift Wrap Wreath:
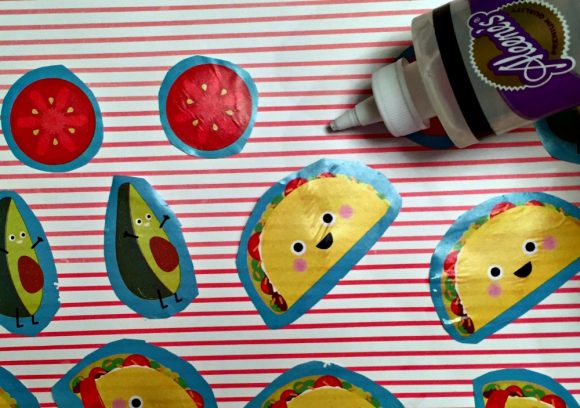
Supplies Needed:
- A foam wreath form, $1
- Roll of gift wrap, on hand or $1
- A sheet of card stock, on hand
- Stickers, on hand or $1
- Glue (I used Aleene’s Clear Tacky Glue)
- Hot glue gun and Glue Sticks
- Baker’s twine, on hand or $1
- Ribbon, on hand or $1
Total cost: $1 and up
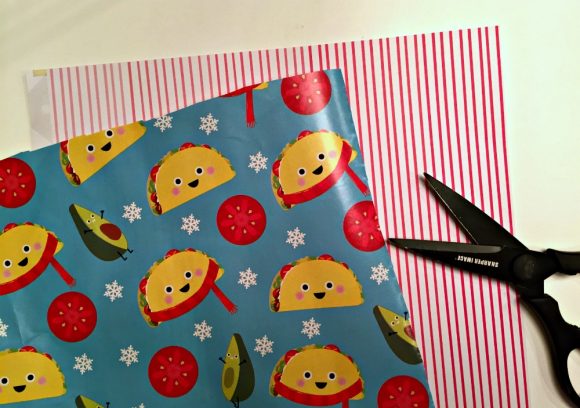
Step 1: Cut out all the cute things printed on your gift wrap.
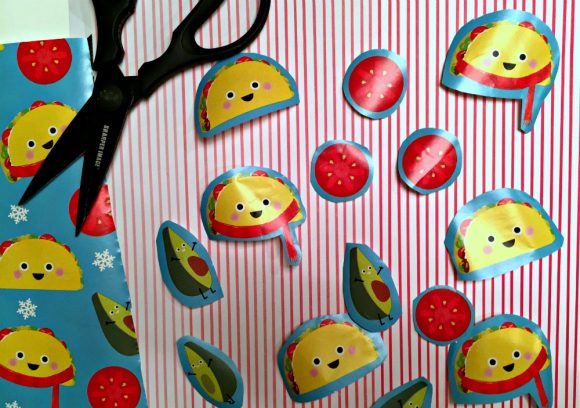
In my case, I carefully cut out tacos wearing scarves, avocados, and tomatoes. Your gift wrap probably has something different on it, and that’s okay! Notice what colors are used in your gift wrap, and pick one of the colors that you’d like to highlight when you choose your card stock. I chose to use a red striped card stock I had on hand.

Step 2: Glue the gift wrap cut outs to the card stock, leaving enough space around them to cut them out and provide a card stock border.
Alternately, if you don’t want a card stock border, you can skip step 1, and glue gift wrap directly to the card stock, then cut out the figures in one step.
The card stock IS important to provide stability to the gift wrap, which is lightweight and too floppy to glue directly to the wreath.
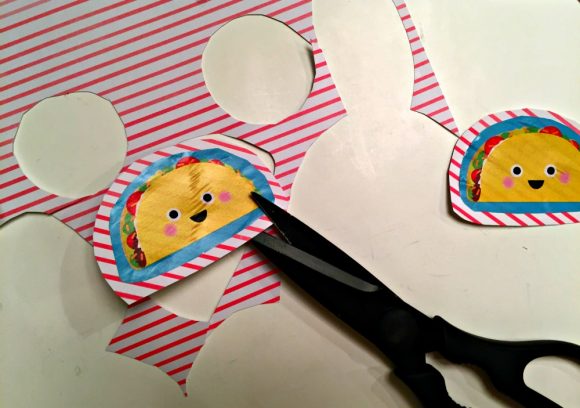
Step 3: Cut out the figures from the card stock, leaving a small border.
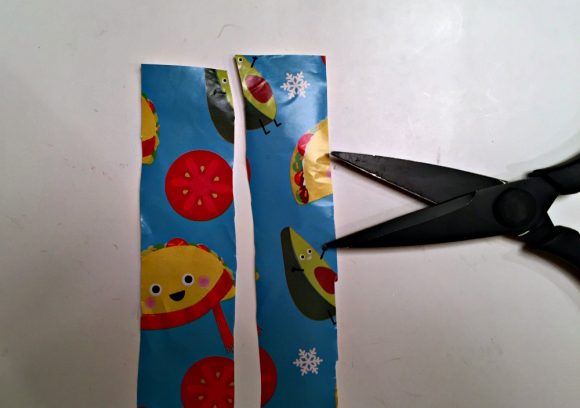
Step 4: Cut strips of wrapping paper about 1″ wide (doesn’t have to be exact).
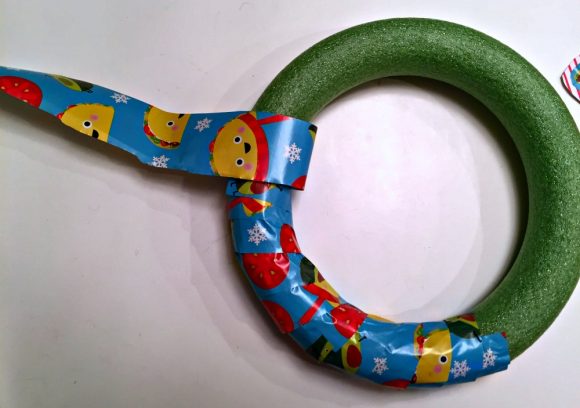
Step 5: Secure gift wrap strip to the foam wreath form with a dab of hot glue. Wrap the strips around the wreath, overlapping as you go, to cover the entire wreath form. When you reach the end of a strip of gift wrap, glue it to the wreath, then start a new strip where the old one ends.
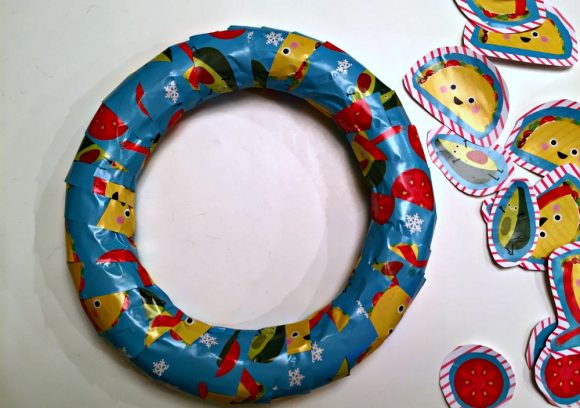
And, the wreath form is all covered! Now it’s time to decorate it.
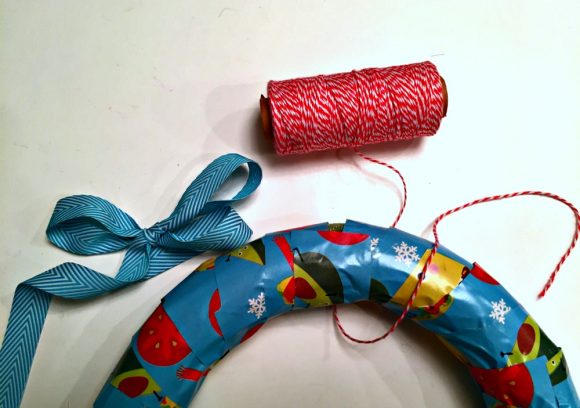
Step 6: Tie a piece of baker’s twine to the top of the wreath for a hanger. Then tie a piece of ribbon into a bow to put on the top of the wreath and glue it in place with hot glue.
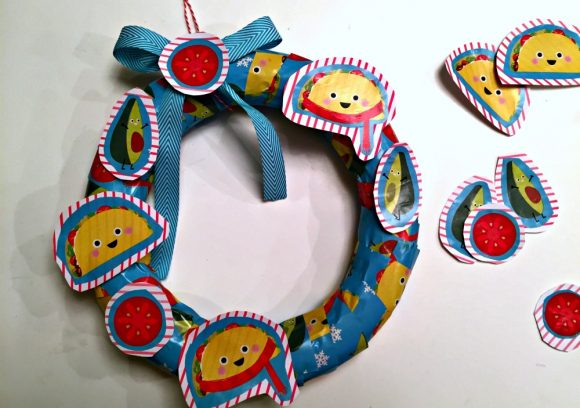
Step 6: Prearrange the pieces of the wreath to decide where they will go, then when you are happy with their placement, glue them into place with hot glue.
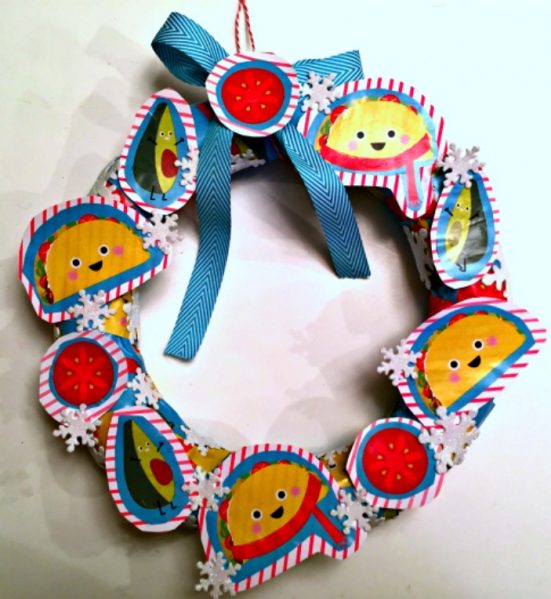
Step 7: Add dollar store stickers to the rest of the wreath to finish it.
Then you’re done! This wreath is a great lightweight wreath to use for home decor, or put in your cubicle at work.
